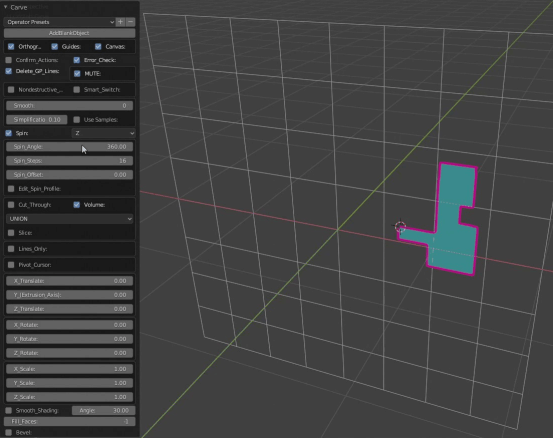
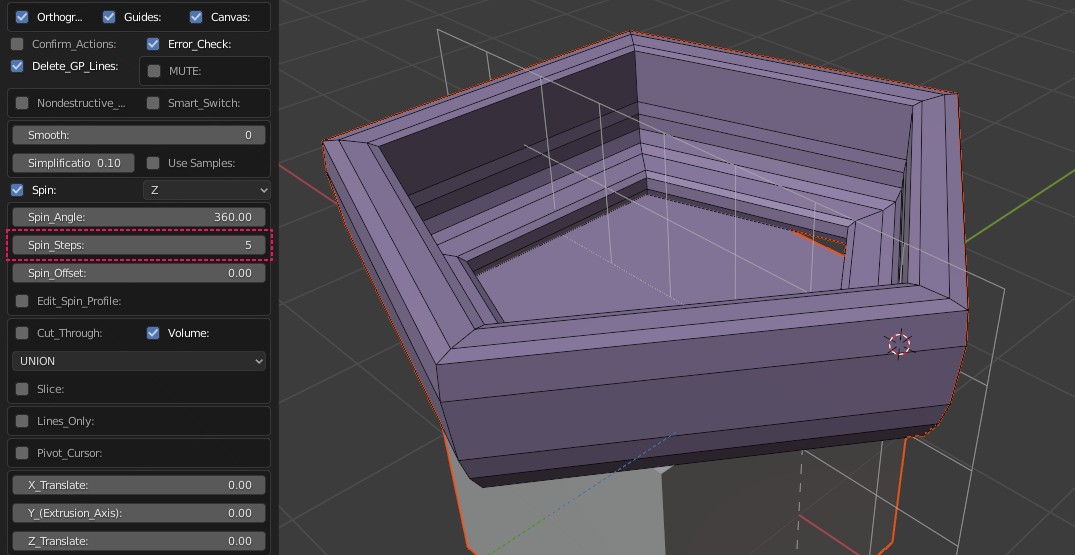
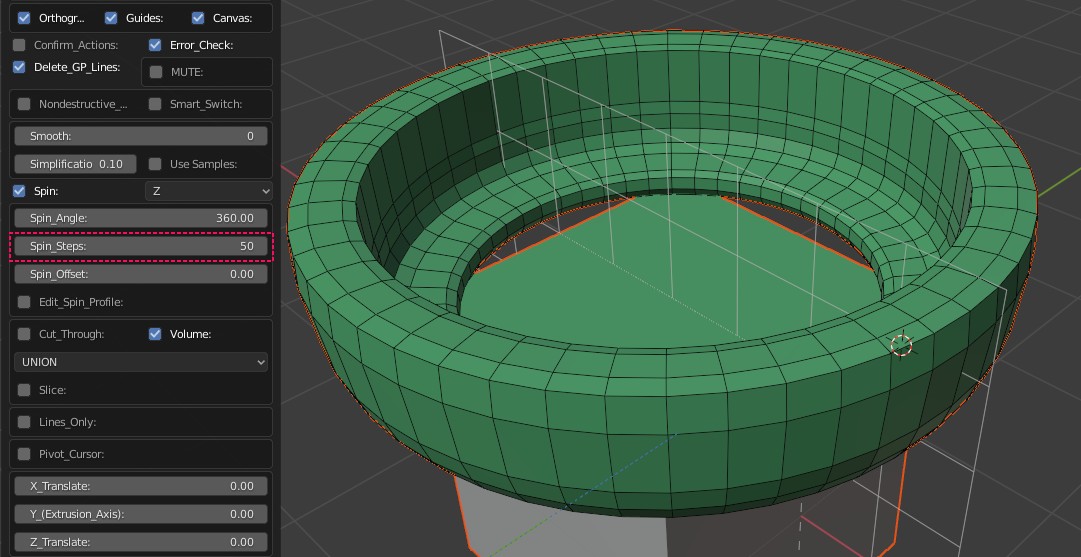
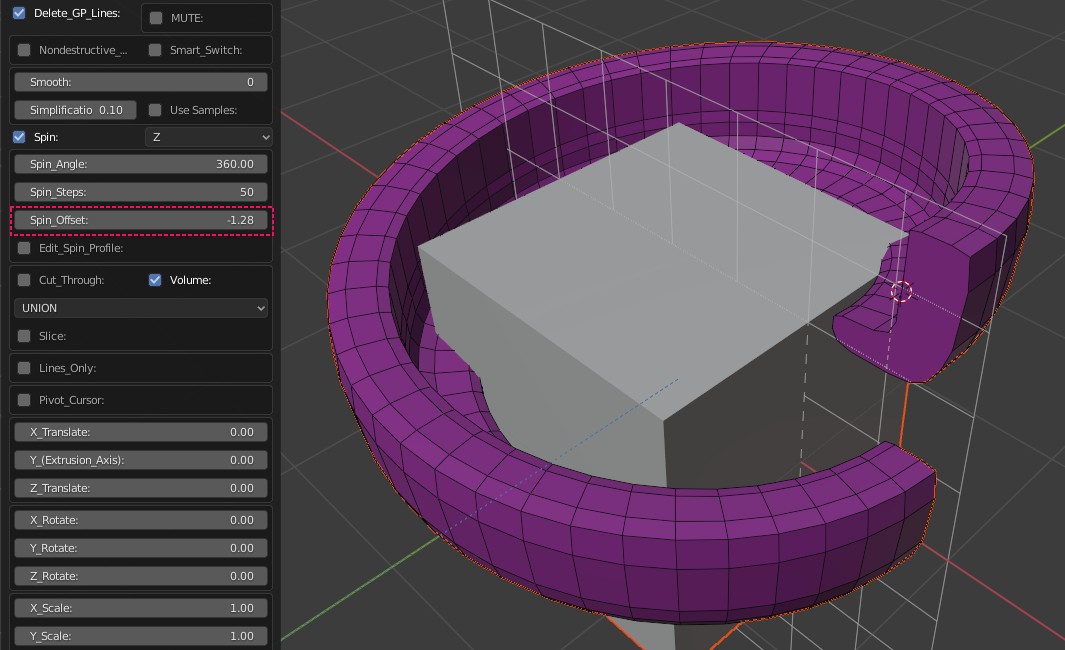
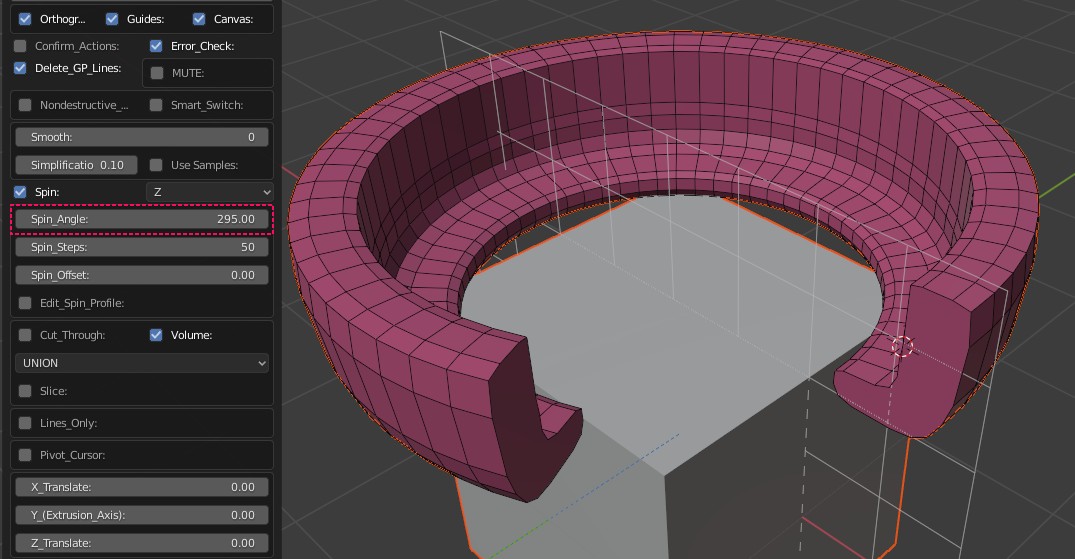
SPIN |
![]() |
| Using the drawing pen draw a shape near the main object. |
![]() |
Press K. If you have not turned off the "Confirm Actions" press OK or ENTER. 
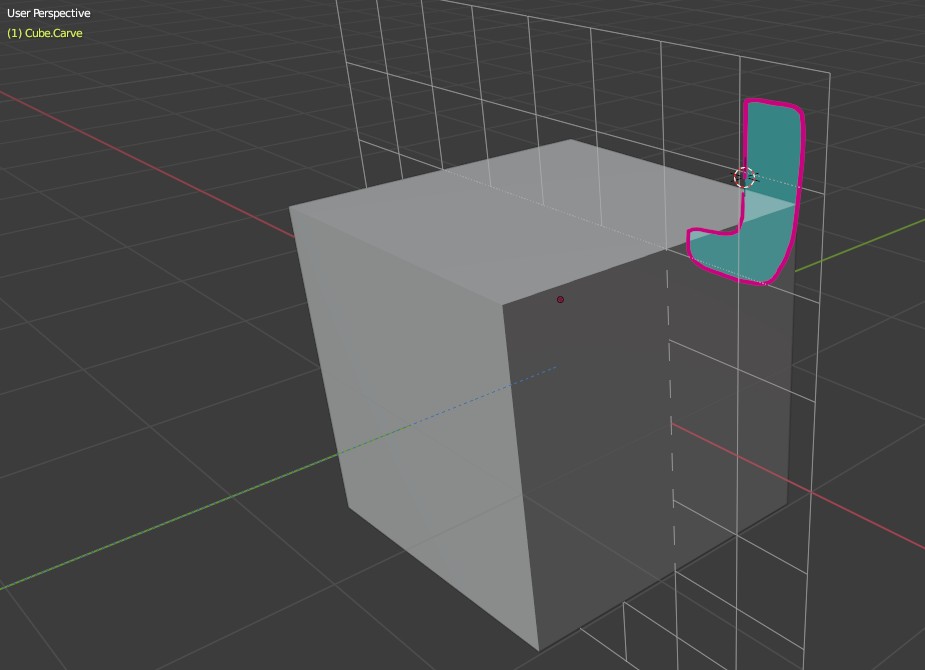
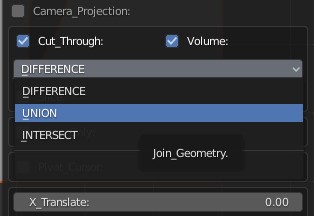
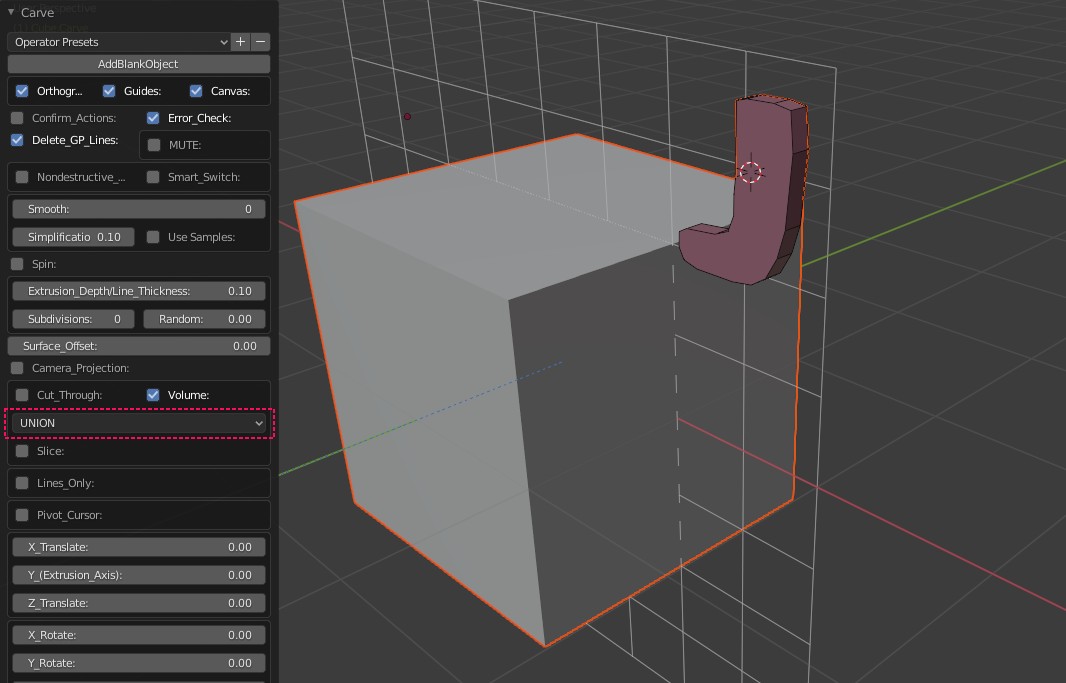
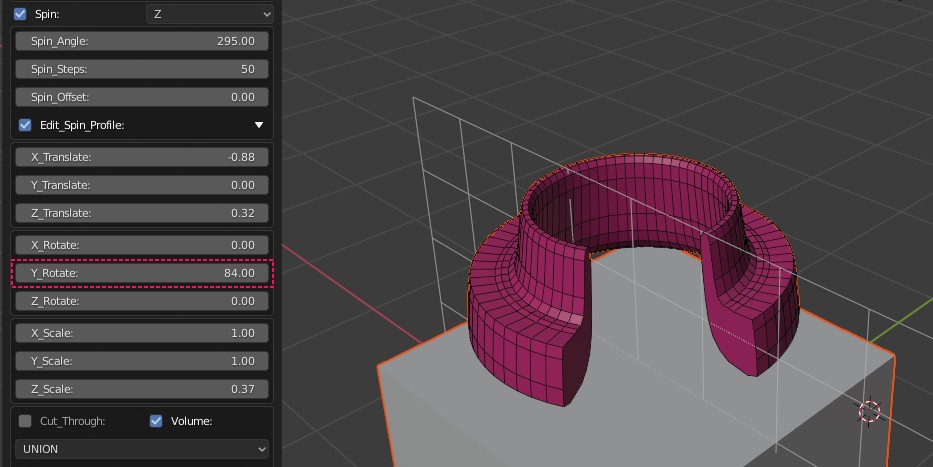
Expand the menu from the bottom left corner of the screen. Select "UNION". |
![]() |
| Switch to perspective view by pressing "0" on numeric pad. |
![]() |
| Check "SPIN". This will spin the shape you have drawn around the selected axis. The default axis is "X". |
![]() |
| Change the spin axis to "Z". |
![]() |
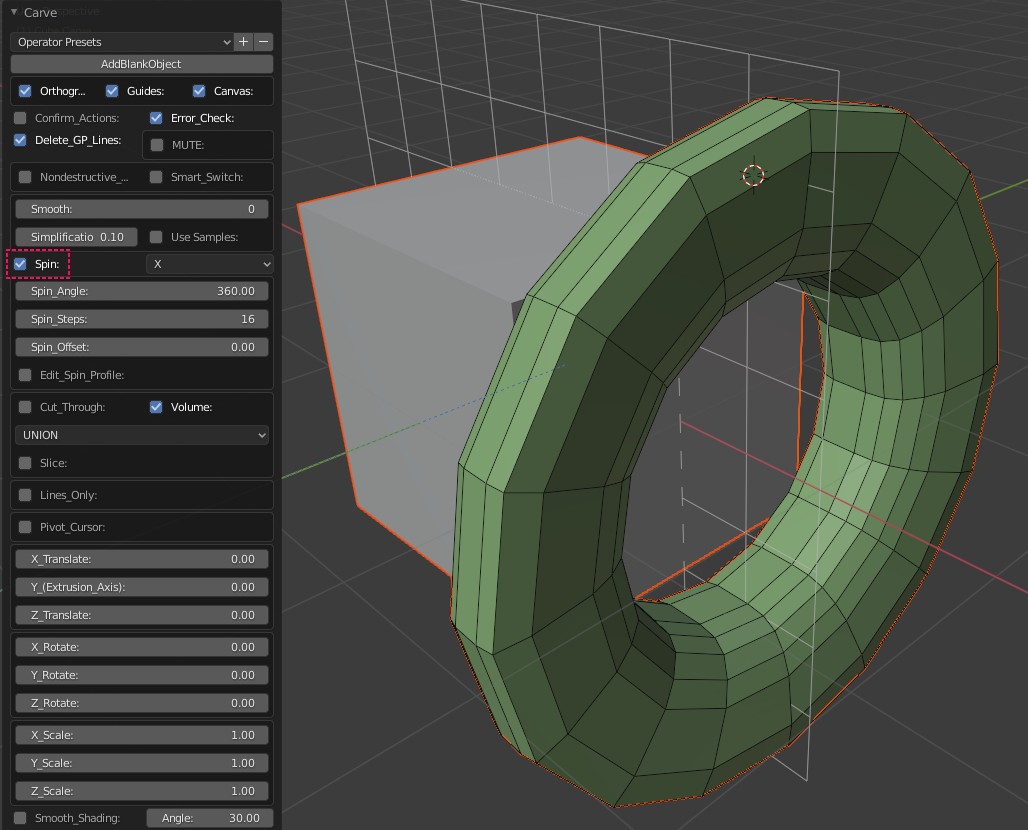
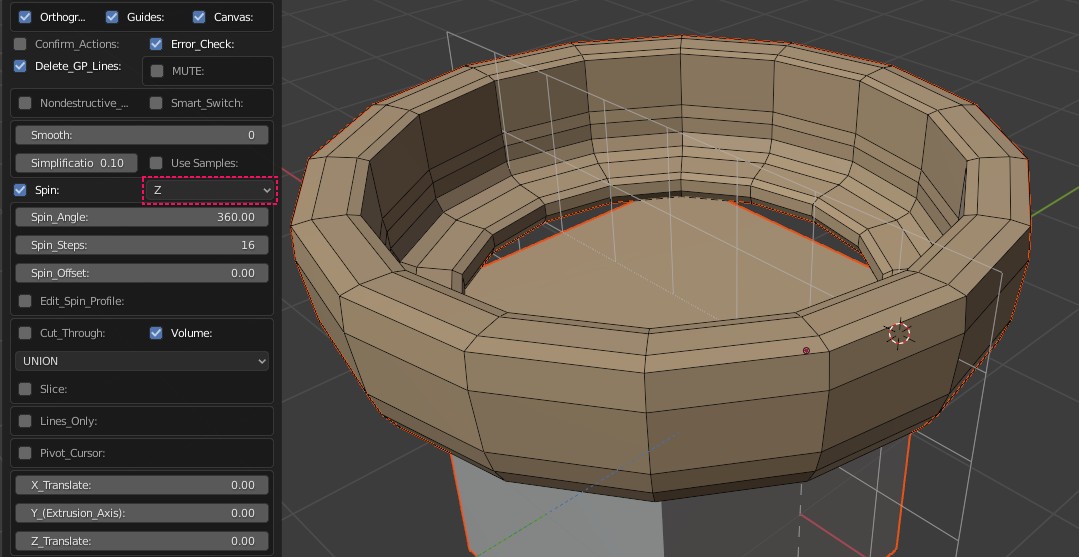
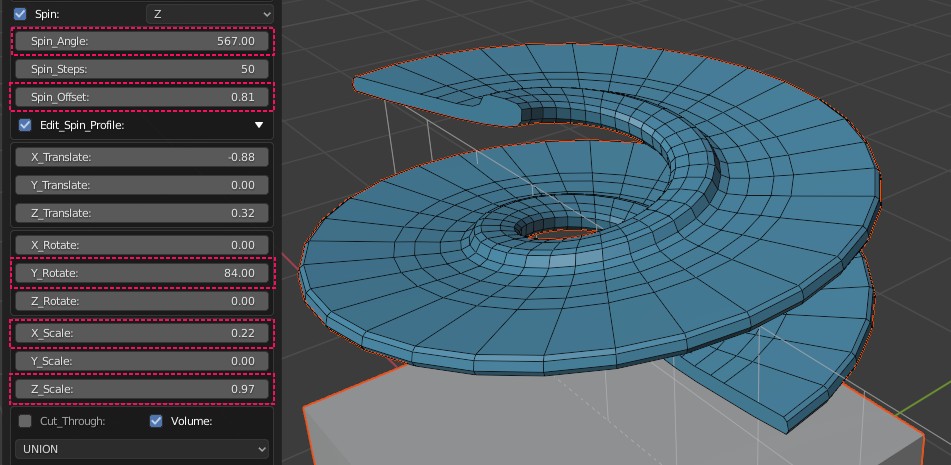
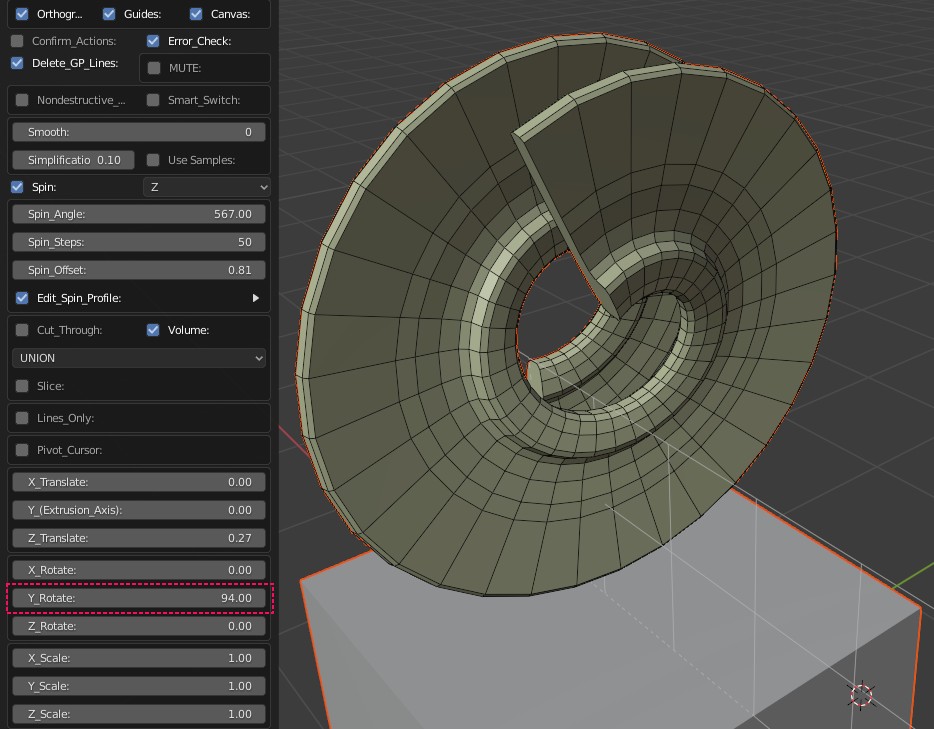
Increase or decrease the "Spin Steps". |
![]() |
![]() |
| Change "Spin Offset" for a screwy look. |
![]() |
| ...Or,the "Spin Angle". |
![]() |
| Select "Edit Spin Profile" and expand menu by clicking on the "triangle". |
![]() |
| Modify the position, rotation and scale of the cross section of the object. |
![]() |
![]() |
![]() |
| Just have fun! |
![]() |
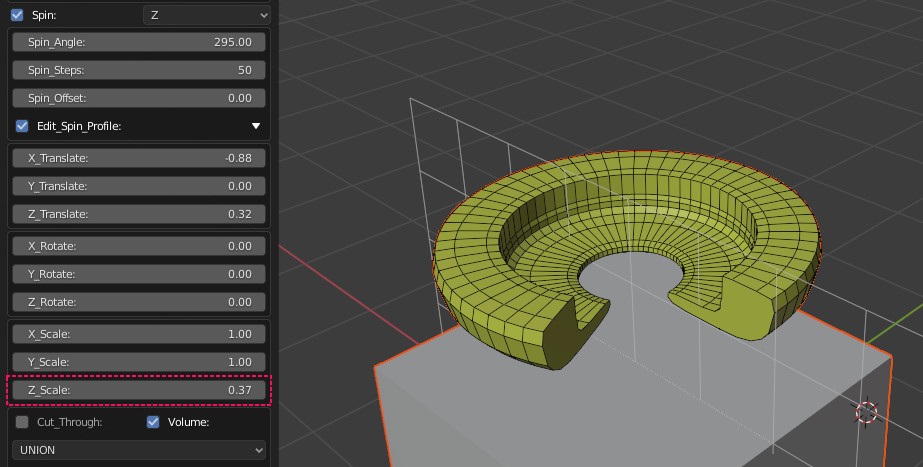
Collapse the spin profile transforms by clicking on the triangle again. 
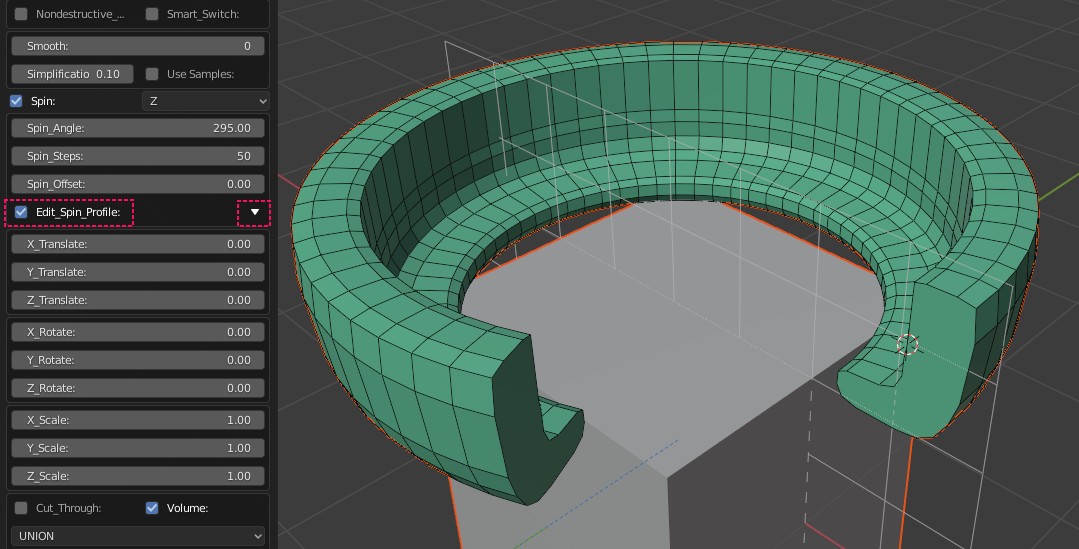
Using the main transforms adjust the object as usual. |
![]() |
Spin_Array_Swap |
| When used together with Array you might want to change the order of operations. To do that simply turn on Spin_Array_Swap button. |